Wind speed is an essential factor that affects our daily lives, especially for those living in areas prone to weather extremes. Knowing the wind speed helps us plan our activities, travel, and protect ourselves from various hazards like windstorms, tornadoes, and hurricanes. This information is essential for farmers, sailors, pilots, and weather forecasters, among others.
If you want to keep an eye on the wind speed in a specific location, you can use wind speed monitoring devices, which typically use sensors to measure the speed of the wind. These devices are often expensive and may require specialized knowledge to set up and operate. But what if we told you that you could build your own wind speed monitor using your device and low-cost components?
In this blog post, we will explore a project on Hackster.io that shows you how to monitor wind speed using MQTT (Message Queuing Telemetry Transport), an open-source messaging protocol for IoT devices. The project uses a brand-name device called the (removed for SEO) and a few other components to build a low-cost wind speed monitor.
What You Will Need
Before we get started with the project, you will need a few things. Here is a list of the essential components you will need:
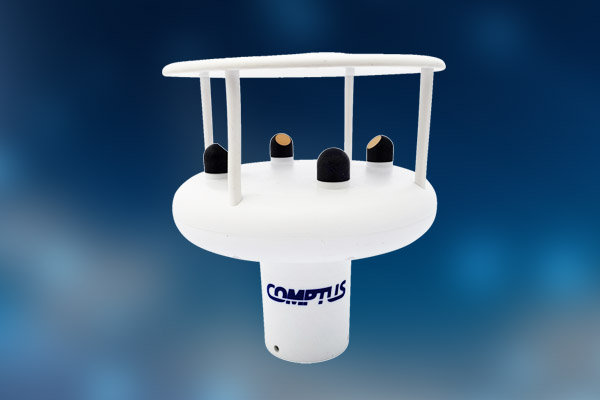
1. Wind speed sensor: This sensor measures the speed of the wind and provides the data that we will monitor. This project uses a Hall Effect sensor.
2. (Removed for SEO) : This device is a microcontroller-based development board that provides WiFi connectivity and can run MQTT. It will serve as the central hub for our monitoring system.
3. Rectifier: This component will convert the alternating current generated by the wind speed sensor into direct current, which can be read by the microcontroller.
4. Resistor: We need a resistor to act as a pull-up to ensure that the output signal from the wind speed sensor is stable.
5. Breadboard: You will need a breadboard to connect the components together.
6. Jumper wires: Use jumper wires to connect the components on the breadboard.
How It Works
The Hall Effect sensor we mentioned earlier generates a square wave signal that varies in frequency in proportion to the speed of the wind. By measuring the frequency of this signal, we can determine the wind speed.
The microcontroller reads the signal generated by the wind sensor and sends the information via MQTT to a remote server, where it can be accessed using any device with internet connectivity. The MQTT protocol makes it possible to transmit data from several devices without losing critical data or consuming a lot of bandwidth.
Setting Up the Wind Speed Monitor
Now that you have all the necessary components let us get started with building the wind speed monitor. Here are the steps:
1. Connect the wind speed sensor to the breadboard and ensure that the output pin is attached to the interrupt pin of the (removed for SEO) device.
2. Connect the rectifier and resistor to the breadboard and attach them to the wind speed sensor's output pin.
3. Connect the (removed for SEO) device to the breadboard and ensure that the pins are connected correctly.
4. Connect the device to your computer and upload the necessary code to the device. You should be able to find the code on the project page on Hackster.io.
5. Once the code has uploaded successfully, you can now use the device to monitor the wind speed.
Benefits of Building Your Own Wind Speed Monitor
There are many benefits to building your wind speed monitor. For starters, you get to customize it to your needs and save money in the process. Commercially available wind speed monitors can be expensive and may not do everything you need them to do. With this project, you can add other features like humidity and temperature sensors to get a complete understanding of the weather conditions in your area.
Another benefit is that you can build the device yourself, giving you a sense of pride and accomplishment. You don't need to be an expert in electronics to build this project, but it will take some time and effort. Watching your device function correctly can be an exciting feeling, especially if it helps you plan your day or save you from a windstorm.
Conclusion
Building a wind speed monitor is an excellent project to undertake if you love electronics and want to learn something new. With the help of open-source tools like MQTT and a (removed for SEO) device, you can build a low-cost wind speed monitor that provides accurate readings. Remember to follow the instructions on the project page on Hackster.io, and you should have a functional wind speed monitor in no time.